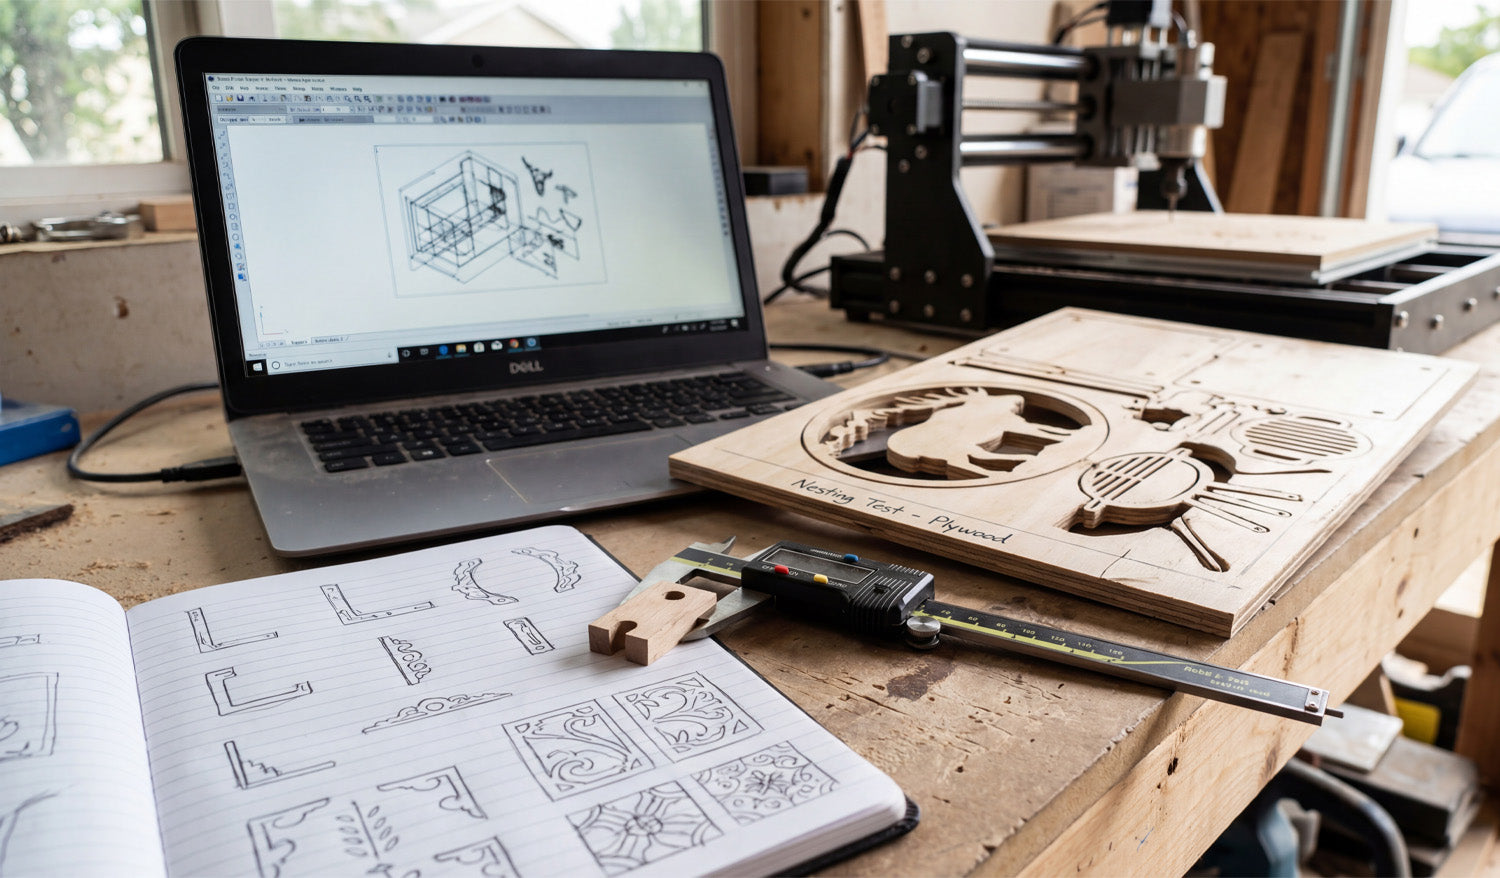
Every great CNC project begins long before the spindle starts spinning; it begins with a concept and a measurement. As captured in the photo above, the journey from a hand-drawn sketch in a notebook to a precision-cut part on the table is the heartbeat of a successful workshop. Whether you are a hobbyist making gifts or a professional optimizing a production run, understanding the transition from "Analogue Sketch" to "Digital DXF" to "Physical Prototype" is essential. Today, we are breaking down the prototyping workflow that saves you time, material, and money.
1. The Sketch: Where Innovation Starts
Look at the open notebook in the foreground. Before opening any CAD software, professional designers often sketch their ideas on paper. This helps visualize corner details, joinery, and aesthetics. However, a sketch is not a file. To turn those drawings into reality, you need to convert them into clean vector paths.
If you aren't an expert at drawing in CAD yet, you can skip this step by using our Full Access Bundle. We provide thousands of pre-designed, ready-to-cut files that replace the need for hours of sketching and digitizing.
2. The Nesting Test: Maximizing Material
The most important detail in this image is the piece of plywood on the table labeled "Nesting Test - Plywood." This is a pro move. "Nesting" is the process of arranging multiple parts (like the elk silhouette and the grill components) as tightly as possible to minimize waste.
Notice how the cutouts are placed close together? By running a test cut on cheap plywood, the operator verifies that the spacing is correct and that the tool doesn't accidentally cut into a neighboring part. Never commit to expensive hardwoods or acrylics until you have verified your nesting efficiency on a scrap piece.
3. Verification: The Calipers Don't Lie
Sitting right on top of the notebook are digital calipers measuring a small wooden component. In the CNC world, we have a saying: "Trust the file, but verify the part." Before you run a full batch of 50 units, always cut one single prototype.
Use your calipers to check the thickness of the material and the depth of the slots. If your material is 0.5mm thicker than your file accounts for, your joinery will fail. Adjust your DXF file or your Z-zero setting accordingly. If you are running into fitment issues, our FAQ Page offers tips on troubleshooting common dimensional errors.
4. The Efficient Workflow
The laptop in the background links the sketch to the machine. It shows the wireframe (the DXF) that drives the router. A clean digital workspace leads to a clean physical product. Keep your files organized, check your scale, and categorize your designs.
If you are ready to start practicing your own nesting and prototyping, download a few designs from our Free DXF Files collection. Sketch it, cut it, measure it, and perfect it.


