Designing DXF files for CNC cutting on a budget is not about “cutting corners”—it is about using the right free or low-cost tools, smart design habits, and efficient workflows so you waste less time, material, and machine runtime.
Why Good DXF Design Saves You Money
Every mistake in a DXF file has a price: scrap material, broken tools, re-cuts, or hours spent fixing geometry. When you design with cost in mind, you:
- Reduce trial-and-error on the CNC machine.
- Cut fewer test pieces before production.
- Spend less money on software and more on actual projects.
- Reuse proven designs instead of starting from zero each time.
A “budget-conscious” DXF workflow is really a “time-and-material conscious” workflow.
1. Choose Budget-Friendly Software for DXF Design
You do not need expensive CAD licenses to create solid DXF files. Many hobbyists and small shops start with:
- Free 2D CAD tools: Simple line, arc, and polyline tools are enough for a lot of CNC work.
- Free or low-cost vector editors: Great for signs, wall art, and decorative designs that export to DXF.
- Entry-level CAD/CAM packages: Some offer personal or hobby licenses with DXF import/export built in.
Pick one tool and learn it deeply instead of jumping between five different programs. Familiarity is a huge cost saver.
2. Start from Templates Instead of Redesigning Everything
Drawing from scratch for every project is expensive in time. Templates turn one good design into many budget-friendly variations.
- Create base templates for common shapes such as brackets, gussets, plaques, or sign blanks.
- Save “ready-to-go” text layouts you can quickly swap names or numbers into.
- Build standard hole patterns and slot sizes that you reuse across projects.
Each template is like a small tool in your digital toolbox. You invest once and benefit over and over again.
3. Design with Material and Sheet Size in Mind
One of the easiest ways to waste money is to ignore stock sizes while designing. Budget-first DXF files are drawn for real sheets.
- Know your common sheet sizes (for example, 4×8 ft, 4×4 ft, or standard plywood/metal plates).
- Design parts so they nest efficiently on those sheets.
- Avoid odd overall dimensions that leave large unusable offcuts.
Even a simple change—like adjusting a panel from 1010 mm wide to 1000 mm—can make nesting easier and reduce material waste.
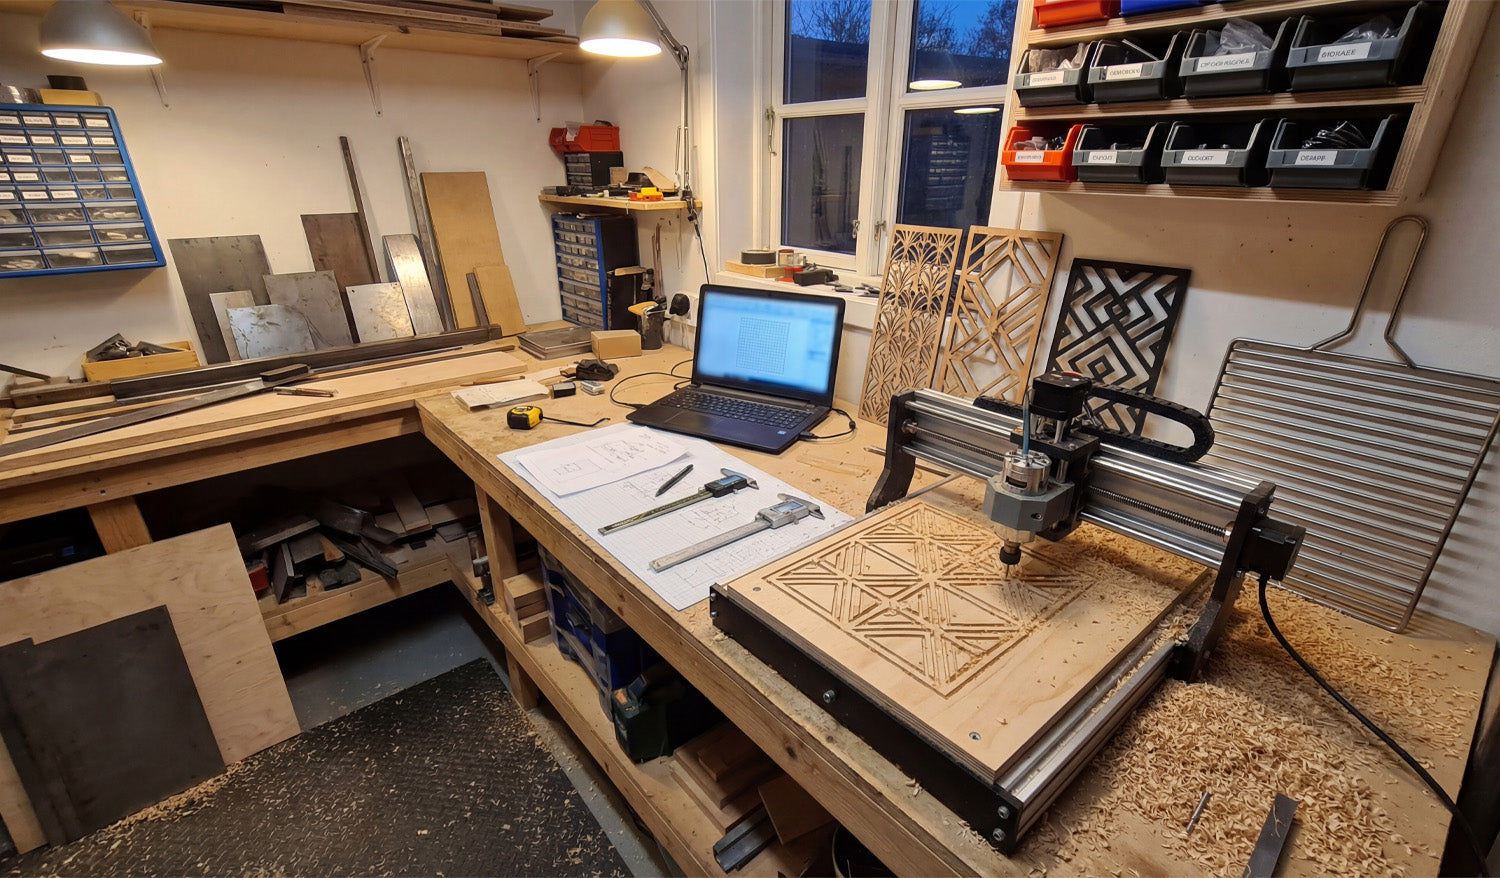
4. Keep Geometry Simple and Machine-Friendly
Complex designs are not just harder to cut—they also cost more in machine time and post-processing. Simple is budget-friendly.
- Use clean contours with fewer nodes instead of “noisy” traced artwork.
- Remove micro details that will never show up in wood or metal at real scale.
- Avoid tiny islands and razor-thin bridges that break during cutting or cleaning.
- Replace jagged curves with smooth arcs where possible.
Smoother toolpaths cut faster, wear tools less, and need less cleanup—all of which put money back in your pocket.
5. Reuse Design Elements Across Multiple Projects
Once you have invested time designing a good DXF element, do not let it live in just one project.
- Build a small DXF library of icons, borders, ornaments, and commonly used parts.
- Copy and adapt these elements into new designs instead of redrawing them.
- Combine multiple existing pieces to create new “hybrid” designs with minimal effort.
This strategy dramatically reduces design time for each new product, especially if you sell CNC-cut items online or locally.
6. Design for Easy Fixturing and Assembly
Budget design is not just about cutting—it is also about how quickly you can assemble and finish parts.
- Add alignment holes or tabs so pieces self-locate during assembly.
- Use slotted joints that can be dry-fit before committing to fasteners or glue.
- Round sharp internal corners so parts slide together without filing.
- Make sure you can clamp or screw parts easily during gluing or welding.
When parts fit together easily, you spend less time reworking and more time finishing or shipping projects.
7. Match Detail Level to Machine Type and Bit Size
Designing tiny detail your machine cannot reproduce is a direct waste of time and money.
- On small lasers, you can keep fine detail, but still avoid bridges thinner than your kerf.
- On routers, do not design internal gaps smaller than your cutter diameter.
- On plasma tables, use bold shapes and avoid micro features that will blow out or warp.
Before spending time polishing a DXF, ask: “Will my machine and material actually show this detail?” If not, simplify.
8. Use Layers to Organize Operations in One DXF
Well-layered DXF files reduce confusion and programming time—especially when you are working alone and wearing every hat.
- Create layers such as OUTER_CUT, INNER_CUT, ENGRAVE, and REFERENCE.
- Keep dimensions and centerlines separate so they are not accidentally cut.
- Use colors or line types that your CAM software can map to different tools or settings.
Less time spent sorting geometry in CAM means more time running the machine—or relaxing.
9. Test on Scrap and Lock In “Production-Ready” DXF Files
On a tight budget, you cannot afford to scrap full sheets. Use small tests to dial in your DXF designs and settings.
- Cut a small section of a complex pattern before running the whole panel.
- Test one joint, slot, or tab for fit before cutting the full set.
- Once a design is proven, save a copy as _PROD or _FINAL and do not edit it casually.
This creates a small library of “known good” DXF files you can reuse without re-testing every time.
10. Organize Your DXF Library to Avoid Rework
Time is money, especially in small shops and one-person operations. A messy file system forces you to redesign parts you already made.
- Store designs in folders by category (signs, brackets, jigs, decor, etc.).
- Use file names that include size, material, and version (for example,
tree_panel_600mm_plywood_v2.dxf). - Keep a simple list or spreadsheet of your best-selling or most-used DXF designs.
The less time you spend digging for a file, the more time you can spend cutting and finishing real parts.
Bonus: Know When to Buy Instead of Design
Designing everything yourself sounds cheap, but sometimes buying a done-for-you DXF is actually the budget move.
- If a design would take you hours to draw, compare that to the price of a ready-made file.
- Look for bundles that give you hundreds or thousands of designs for less than one hour of your shop rate.
- Use purchased designs as a base and tweak them for your own style, sizes, or customers.
Mixing your own custom work with high-quality purchased DXF files is often the fastest way to build a profitable product range on a budget.
Conclusion
Designing DXF files for CNC cutting on a budget does not mean settling for low quality—it means using smart tools, reusable templates, material-aware layouts, and machine-friendly geometry. When you keep an eye on time, material, and complexity at the design stage, your CNC projects become cheaper to run, easier to repeat, and much more sustainable for a small shop or home workshop.


