DXF files are a perfect match for CNC routing because they store precise 2D geometry, let you design around tool diameter and material limits, and help you cut parts with both high precision and high efficiency.
What Makes CNC Routing Different from Other CNC Cutting?
CNC routers are usually used on wood, MDF, plywood, plastics, foam, and sometimes aluminum or other soft metals. Unlike lasers or plasma cutters, a router removes material with a rotating bit, not a beam. That means:
- The tool has a fixed diameter (for example, 3 mm or 1/4 inch).
- Inside corners will always have a radius based on that diameter.
- You often need multiple passes for deep cuts.
- Hold-down, tabs, and material support are critical to avoid parts moving.
Your DXF design must respect these realities if you want precise parts and fast cycle times on a router.
Why DXF Files Work So Well for CNC Routers
DXF (Drawing Exchange Format) files store lines, arcs, and curves as exact vectors, which is exactly what a CNC router needs for toolpaths.
- Accurate outlines: Router CAM software can follow DXF curves to create smooth profile cuts and pockets.
- Flexible scaling: You can resize designs for different router beds or product sizes without losing quality.
- Layer organization: Different depths, operations, and tools can be separated on layers for easier CAM setup.
- Wide compatibility: Almost every CAD and CAM package used in routing can import and export DXF files.
Step 1: Plan Your Part for Router-Friendly Cutting
Before drawing anything, think about how your part will be cut on a CNC router.
- Material: MDF, plywood, hardwood, plastic, etc.—each has a safe minimum feature size and ideal feed rates.
- Thickness: Thicker materials usually need more passes and stronger tabs.
- Tool size: A 6 mm or 1/4 inch bit is common; very small tools cut slower and are more fragile.
- Machine bed size: Make sure your design fits with enough margin for clamps or vacuum zones.
- Assembly needs: If parts must fit together (slots, tenons, pockets), design those features with real tolerances.
Clear planning helps you avoid impossible inside corners, weak tabs, and other problems that waste time later.
Step 2: Set Up Your DXF Drawing for Precision
Good DXF routing starts with a clean drawing environment in your CAD or vector software.
- Choose units—millimeters or inches—and stick to them for the entire design.
- Turn on snap options (endpoints, midpoints, intersections) to keep geometry aligned.
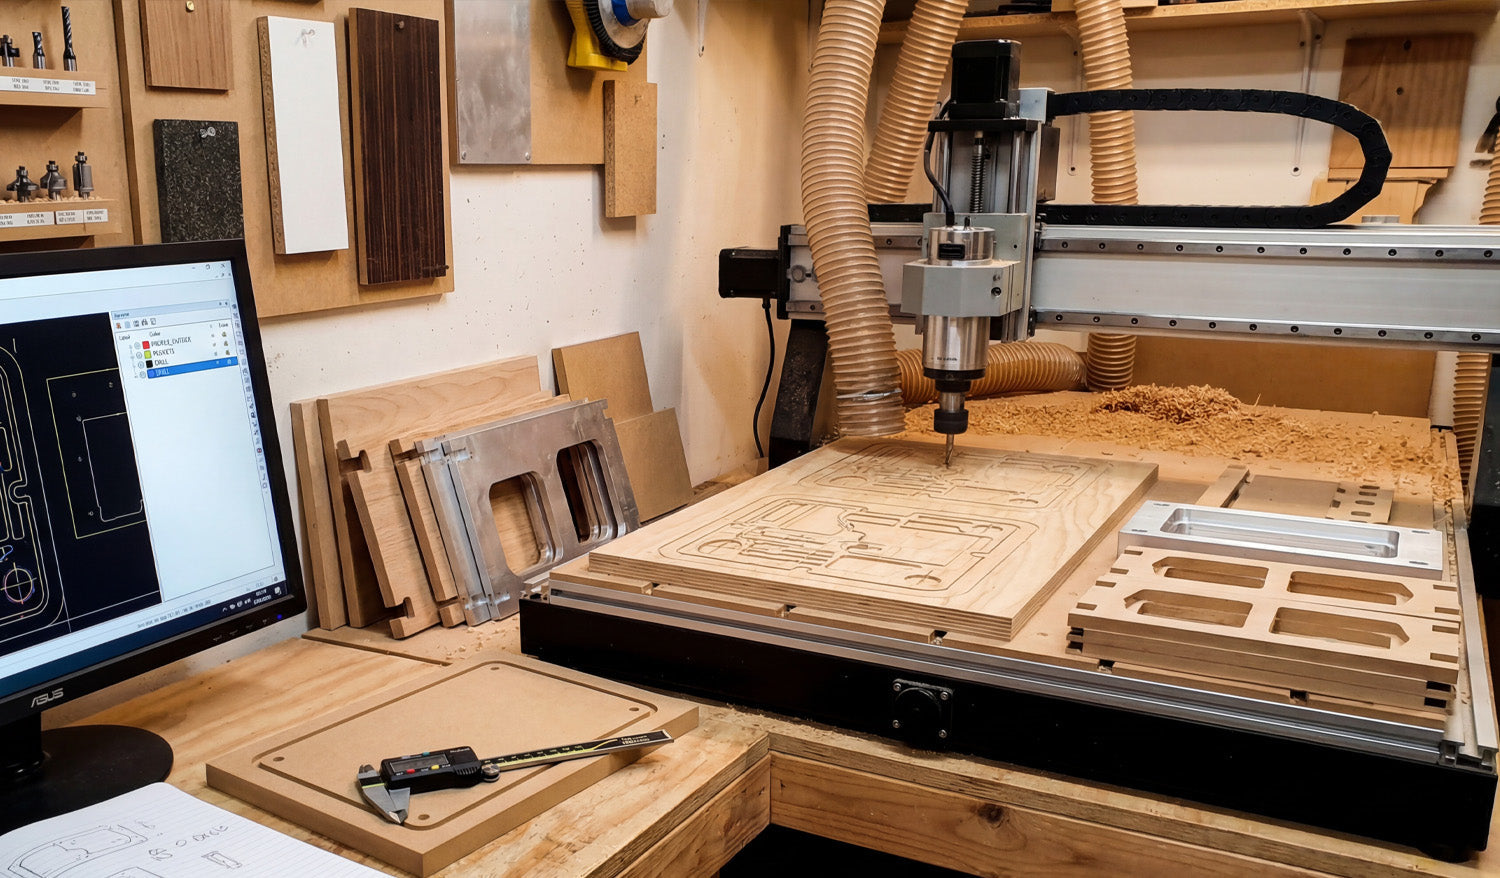
- Create layers such as PROFILE_OUTSIDE, PROFILE_INSIDE, POCKETS, DRILL, and REFERENCE.
- Use line colors or styles to quickly see which geometry belongs to which operation.
This structure makes it easier to keep your DXF precise and to map layers to operations in your CAM software later.
Step 3: Design with Tool Diameter and Inside Corners in Mind
Router bits are round, so your DXF design must account for that in all internal geometries.
- Inside corners: A router cannot cut a perfectly sharp inside corner. Use fillets with a radius at least equal to the tool radius (ideally slightly larger).
- Slots and mortises: Make slot widths slightly larger than the mating tenon or tab, and consider adding “dogbone” or “T-bone” fillets so square parts can fit into routed corners.
- Holes: Small holes should match standard drill or bit sizes. For very small holes, consider drilling instead of profiling.
- Thin walls and bridges: Keep thin sections wider than 2–3× the tool diameter so they do not break during cutting.
Designing around tool diameter up front prevents fit issues and lets you cut faster without overloading the bit.
Step 4: Control Tabs, Bridges, and Hold-Down
Because a router physically pushes on the material, parts can move once they are fully cut out. Your DXF should anticipate this with tab-friendly geometry.
- Plan tab locations along straight edges or less-visible areas of the part outline.
- Avoid putting tabs on tight inside corners or small decorative areas where they are hard to sand off.
- Ensure there is enough edge length to place several tabs on larger parts for stability.
- For small parts, consider grouping them within a larger frame or using additional bridges so they do not fly loose.
When your DXF has clean, continuous outer contours, CAM software can automatically place tabs where they make the most sense.
Step 5: Optimize Contours for Efficient Toolpaths
Efficient router toolpaths start with efficient DXF geometry.
- Use polylines: Combine separate segments into single polylines for smoother motion.
- Remove duplicates: Delete overlapping lines that could cause double cuts and burn marks.
- Simplify curves: Reduce unnecessary nodes while keeping the shape true so the router can maintain consistent feed rates.
- Close all profiles: Make sure outer and inner profiles are closed loops so CAM can recognize pockets and cut directions correctly.
Clean geometry helps your router maintain speed, reduces tool wear, and improves edge finish.
Step 6: Layer Strategy for Multi-Depth and Multi-Tool Jobs
Many CNC routing jobs use more than one depth or tool. DXF layers can make this much easier to manage.
- Use one layer for through cuts (full depth) and another for pockets (partial depth).
- Separate engraving or V-carve lines from standard profile cuts.
- If you plan to use multiple tools (for example, a large roughing bit and a small finishing bit), place geometry for each tool on its own layer.
- Keep construction geometry (guides, centerlines, dimensions) on a reference layer that will not be exported or used for cutting.
When you import the DXF into CAM, you can quickly assign each layer to the right tool, depth, and operation without manually selecting hundreds of elements.
Step 7: Check and Export a Clean DXF for Routing
Before exporting, do a final quality check on your DXF file.
- Measure overall dimensions and critical features (slots, tenons, holes) to confirm they match your design intent.
- Check that inside corners have appropriate radii or dogbone cutouts.
- Look for stray points, tiny islands, or small gaps between segments.
- Confirm layers are named and organized consistently.
Then export your drawing:
- Use Save As or Export and choose DXF.
- Select a DXF version your router CAM software prefers (commonly R12 or R14).
- Give the file a descriptive name like cabinet_side_MDF18mm_800mm_v1.dxf.
Common Design Mistakes to Avoid in CNC Routing DXFs
Even experienced users fall into a few common traps. Avoid these to keep your routing precise and efficient:
- Square inside corners: Designing perfect 90° inside corners without clearance for the round bit, causing poor fit.
- Overly thin features: Creating very narrow walls or tabs that chip or break during cutting.
- Too much tiny detail: Adding small decorative features that slow down cutting and are hard to sand or finish.
- No allowance for glue or finish: Forgetting to leave enough tolerance in joints that will later be glued, painted, or coated.
- Ignoring grain direction: For wood, not considering grain orientation where strength or appearance matters.
Practical Tips for Precision and Efficiency
- Test joints at full scale: Cut a small sample of a slot and tenon before committing to a full sheet.
- Standardize key dimensions: Reuse the same slot widths, tab sizes, and hole diameters across designs to simplify tooling and setup.
- Use copy and mirror: For symmetrical parts, draw half with precision and then mirror it to avoid small asymmetries.
- Document best settings: Save notes on feed, speed, and depth of cut that work well with specific materials and bit sizes.
- Build a reusable library: Keep a library of proven DXF parts—brackets, joints, patterns—that you can drop into new projects.
Conclusion
DXF files for CNC routing are powerful tools when they are designed with precision and efficiency in mind. By planning around tool diameter, using clean and organized geometry, controlling tabs and hold-down, and separating operations into clear layers, you give your router CAM software exactly what it needs to generate fast, accurate toolpaths. The result is a smoother workflow, better-fitting parts, less scrap, and a growing design library that you can reuse across countless routing projects.


