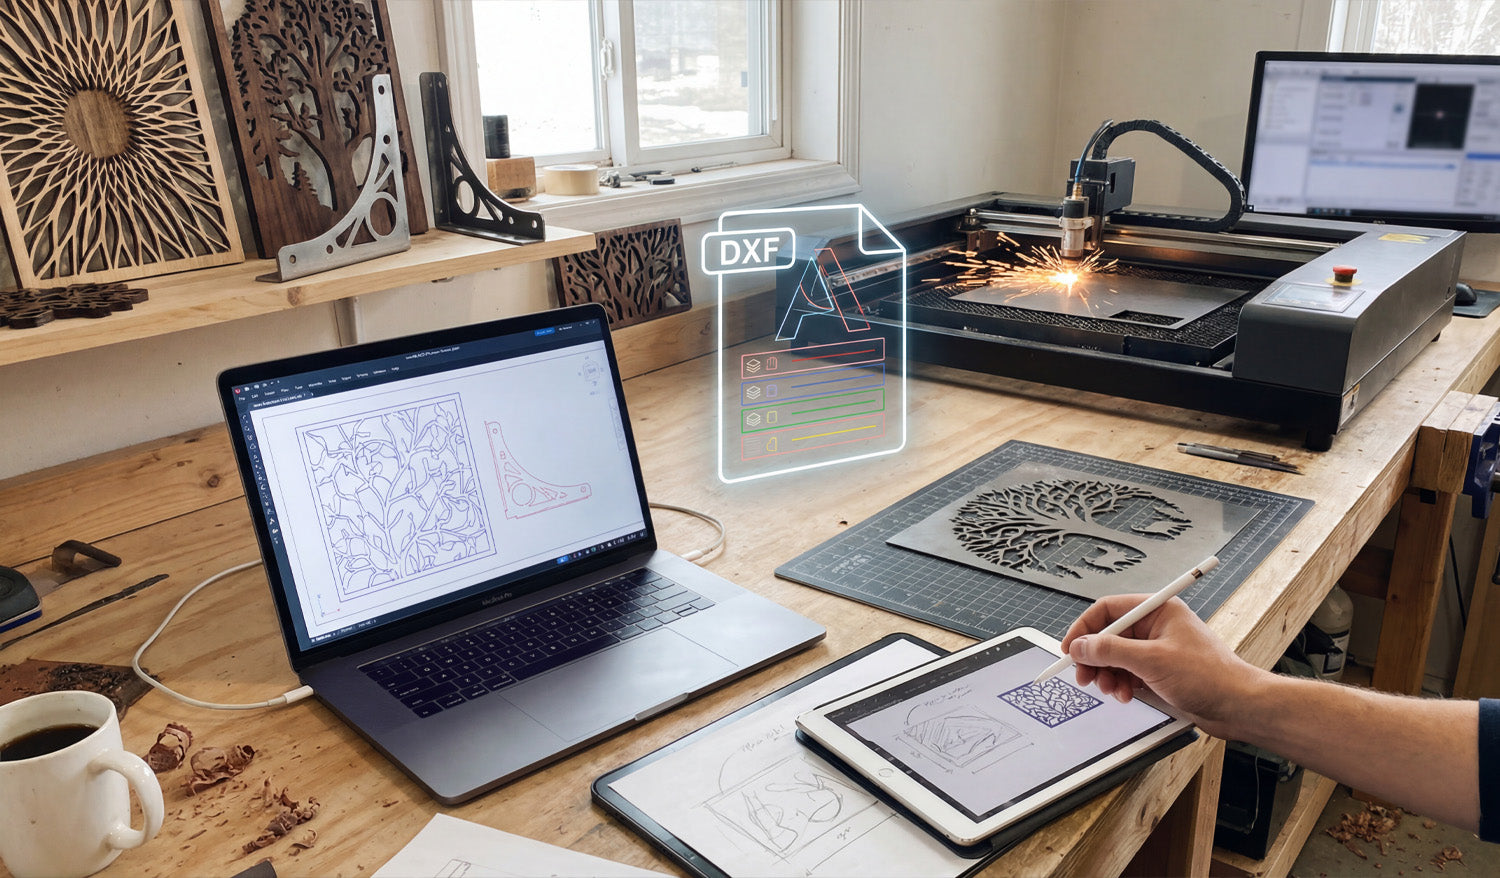
Bridging the gap between a creative spark and a metal masterpiece relies entirely on how well you manage your digital workflow. As shown in the workshop setup above, the journey begins long before the laser fires up; it starts with a sketch, transforms into a precise digital blueprint, and culminates in a flawless cut. Whether you are sketching a custom design on a tablet or fine-tuning vectors on your laptop, understanding the transition from a raw idea to a machine-ready DXF file is the most critical skill for any CNC fabrication business owner aiming for efficiency and profit.
1. From Stylus to Vector: The Design Phase
Modern CNC fabrication has moved beyond rigid engineering; it is now an art form. As seen on the tablet in the workspace, many successful projects begin with a simple hand-drawn sketch. Using digital illustration tools allows you to create organic shapes, like the nature-inspired leaf patterns shown on the screens. However, a sketch is just a raster image (pixels). To communicate with your machine, this must be converted into a vector format (lines and arcs). This is where the magic happens—tracing your design to create clean, mathematically defined paths.
2. Decoding the DXF: Layers and Lines
The glowing "DXF" icon in the center of the image represents the universal language of CNC machines: the Drawing Exchange Format. A high-quality DXF file acts as the translator between your design software and your laser or plasma cutter. Notice the color-coded layers in the graphic? In professional DXF Designs, different layers are often used to tell the machine to perform different actions—such as engraving the details first (blue/green lines) before performing the outer profile cut (red lines). Organizing your file correctly prevents errors and wasted material.
3. Simulation and Optimization
Before you send a file to the cutter, look at the laptop screen. The operator is running a simulation to check the cutting path. This step is non-negotiable. You must ensure that:
- Nodes are minimized: Too many data points can cause the machine to jitter.
- Loops are closed: If a shape isn't fully closed, the piece won't drop out of the sheet.
- Kerf Compensation: You have accounted for the width of the material that the laser or plasma beam burns away.
If you are new to this process, we recommend practicing with our Free DXF Files to understand how a clean, optimized file looks and behaves in your software.
4. The Physical Result: Turning Vectors into Income
The background of the shop features the ultimate goal: finished, sellable products. The "Tree of Life" wall art and the geometric privacy screens are prime examples of high-demand items in the home decor market. By mastering the digital side of things, you reduce trial and error, meaning you burn less metal and sell more art. For those who want to skip the design phase and go straight to production, our Full Access Bundle offers thousands of ready-to-cut designs that have already been optimized for you.
5. Staying Organized and Legal
Just as the workbench is organized with tools ready at hand, your digital library should be equally tidy. Keep your files backed up and sorted by category. Furthermore, always ensure you have the rights to produce the work you are selling. You can review our Legal Usage License Agreement to understand how to use commercial files safely and profitably.
Ready to start your next project? Browse our collections or Contact Us if you have technical questions about file compatibility.


