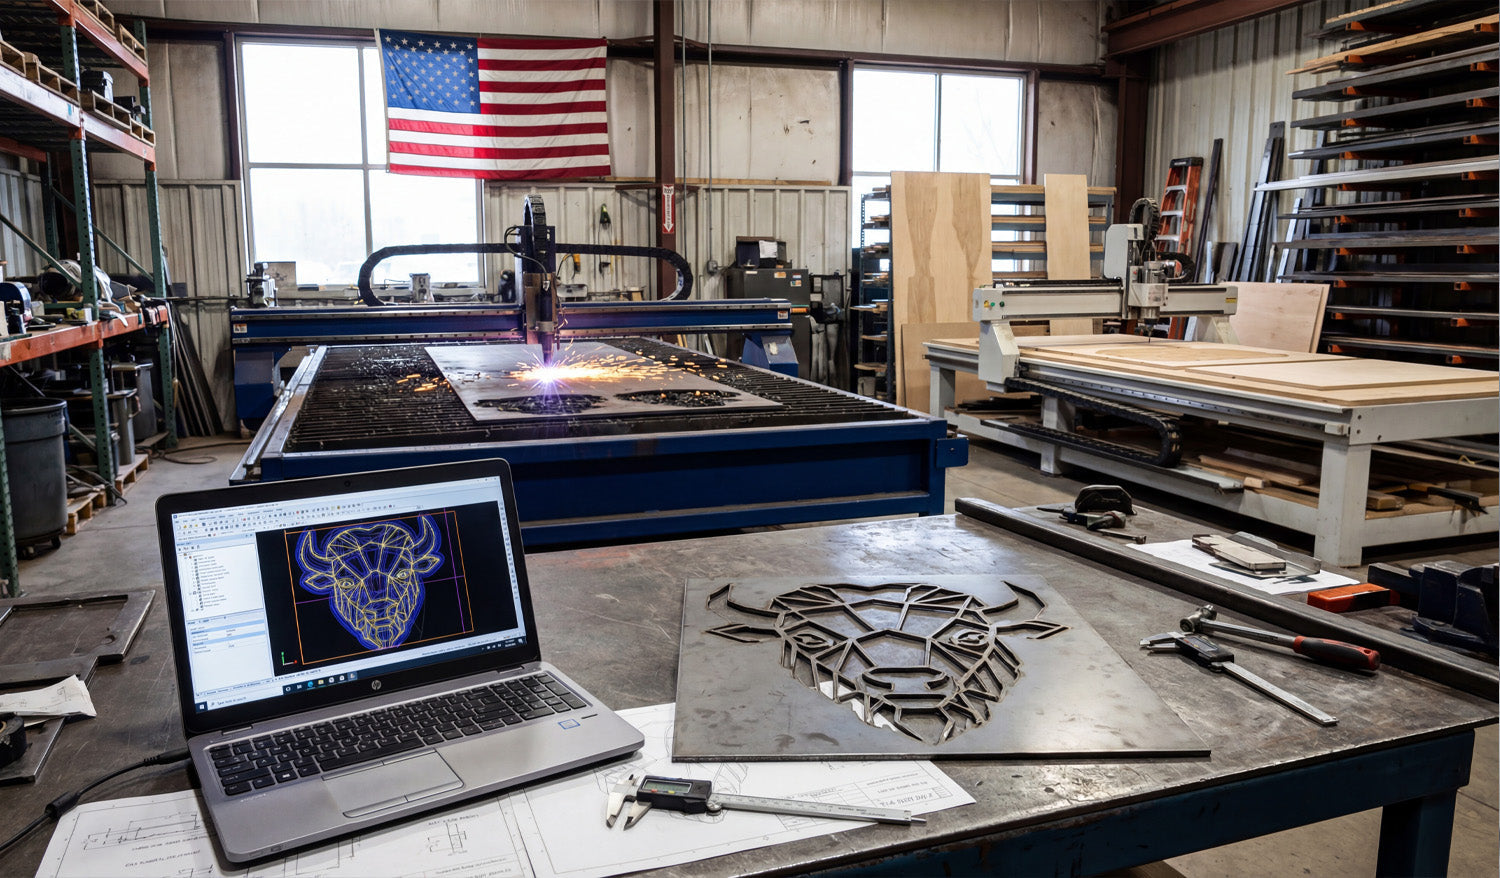
Turning a digital concept into a tangible, high-value product is the ultimate goal of every CNC shop. As seen in the image above, the journey starts on a laptop screen with a precise vector design—in this case, a geometric bull head—and ends on the workbench as a cleanly cut steel masterpiece. Whether you are running a plasma table in an industrial warehouse or a smaller setup in your garage, mastering the workflow from DXF file to finished metal art is the key to unlocking new revenue streams in the booming home decor market.
The Rise of Geometric Metal Art
If you look closely at the laptop screen in the photo, you will see a "low poly" or geometric design style. This isn't just an artistic choice; it is a strategic business move. Modern interior designers love this style because it fits both rustic and contemporary homes. For a CNC business owner, these designs are gold because:
- They Cut Fast: Straight lines and defined angles are easier for plasma and laser cutters to process than complex organic curves.
- High Perceived Value: A simple sheet of mild steel transforms into "modern art" the moment it is cut.
- Scalability: You can cut this bull head 12 inches wide for a wall hanging, or 4 feet wide for a commercial sign, using the same Full Access Bundle of files.
Technical Breakdown: From Screen to Spark
The transition from the blue lines on the computer to the steel plate on the table requires attention to detail. Notice the calipers on the workbench? Precision counts.
1. Optimizing the DXF
In the CAD software shown on the laptop, the design looks perfect. But for the plasma torch in the background to cut it cleanly, the file needs to be "machine-ready." This means ensuring there are no open contours and that the spacing between the geometric lines is wide enough to handle the thermal distortion of the metal. If the lines are too close, the heat from the plasma arc might melt the thin web of material between them.
2. Managing Lead-ins and Lead-outs
For a piece like this geometric bull, where aesthetics are everything, you cannot have pierce marks ruining the visual flow. In your CAM software, you must place your lead-ins (where the torch starts) and lead-outs inside the "scrap" parts of the design, not on the finished edge. This ensures the outer contour remains crisp and clean, requiring less grinding later.
Diversifying Your Shop Capabilities
The background of this workshop tells another success story. While the plasma table handles the steel bull, there is a CNC Router to the right working on wood. This is the definition of a resilient business.
You can use the exact same DXF file of the geometric bull to carve a wooden version on your router or engrave it onto slate. If you are looking to expand your library to feed multiple machines, check out our complete collection of designs.
Start Your Project
You don't need to be a CAD wizard to produce professional results like the one in the photo. We have done the design work for you. You can test your machine's capabilities right now by downloading some of our Free DXF Files.
If you have any trouble with file scaling or import settings, our team is here to help. Visit our Contact page or email us at info@dxffilesforcnc.com.


