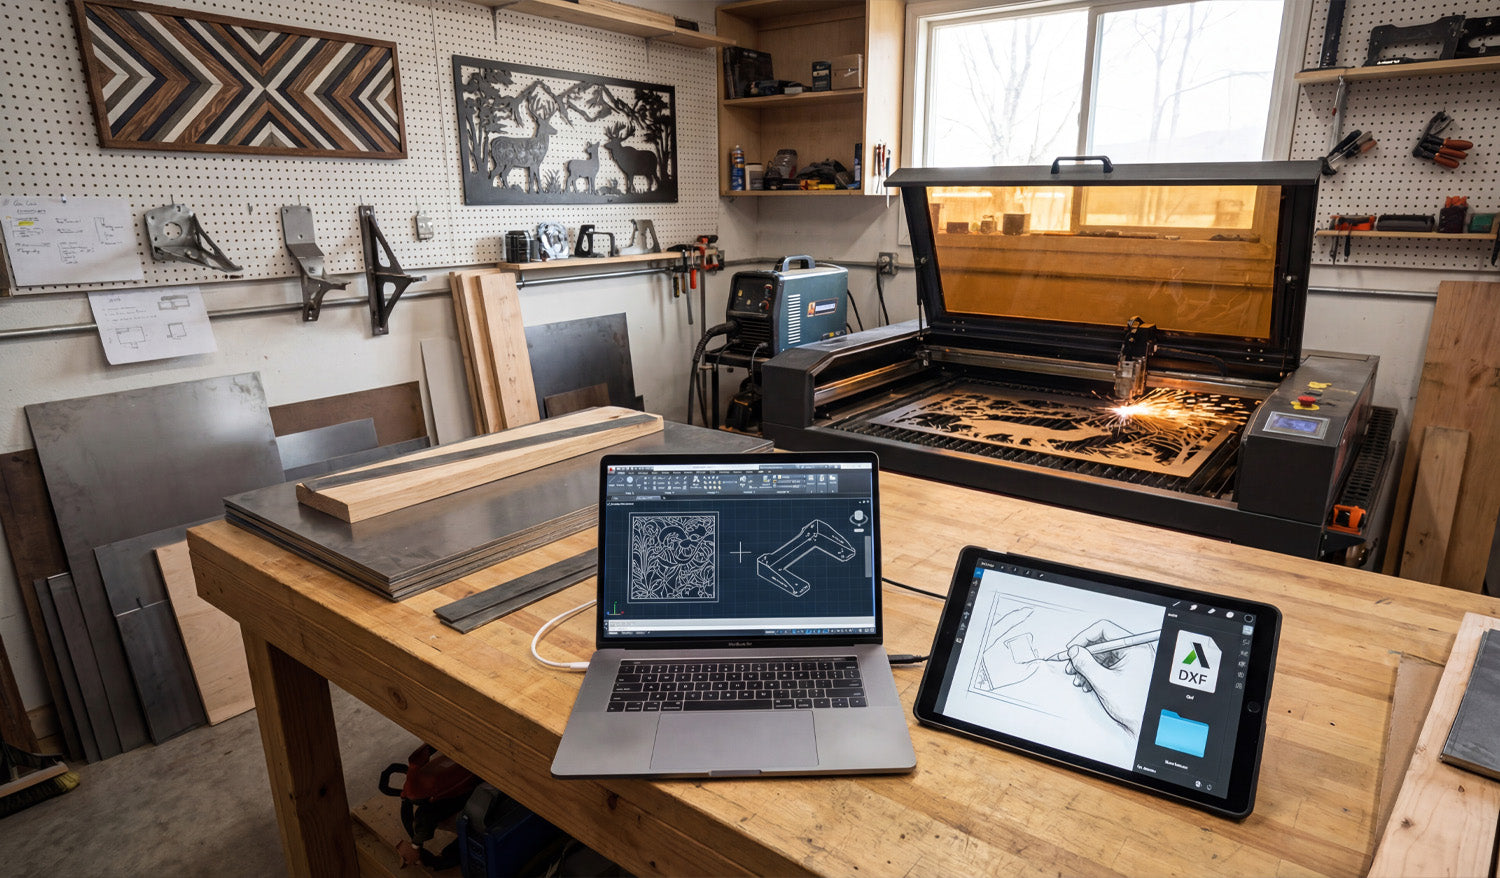
Using DXF files for custom CNC fabrication projects lets you move from rough ideas and quick sketches to accurate, repeatable parts that your laser, plasma, or router can cut without drama or guesswork.
Why DXF Files Are Perfect for Custom CNC Work
Custom fabrication is messy by nature: every project is a little different, dimensions change, clients change their minds, and you often work with one-offs or small batches. DXF files bring order to that chaos by acting as a stable, machine-ready language between design and cutting.
- Vendor-neutral: DXF is supported by almost every CAD, CAM, and CNC controller.
- Exact geometry: Lines, arcs, and curves are stored as precise vectors, not fuzzy pixels.
- Easy to revise: You can tweak a few dimensions, re-export, and be cutting again in minutes.
For a shop that lives on custom jobs—signs, brackets, panels, fixtures, architectural parts—DXF becomes the backbone of your workflow.
From Idea to DXF: Building a Custom CNC Workflow
Most custom CNC projects follow a similar path, even if the details change from job to job:
- Capture the concept: A sketch, email, photo, sample part, or customer drawing.
- Translate into CAD or vector software: Create clean 2D geometry that reflects what must be cut.
- Export as DXF: Save a clean, simplified version for CAM and the CNC machine.
- Generate toolpaths: In CAM software, turn DXF profiles into real feed rates, pierces, and depths.
- Test cut and refine: Make small adjustments to fit, kerf, or aesthetics based on real parts.
The DXF file is the bridge in the middle of this process—stable enough to feed the machine, flexible enough to change quickly when the job evolves.
Using DXF Files to Collaborate with Clients
Custom jobs often start with incomplete information. A client might send a rough drawing, a screenshot, or a picture of something they liked. DXF files help you turn that into something both sides can agree on.
- Share approval drawings: Send a DXF or a PDF exported from your DXF so the client can review shapes and dimensions.
- Capture revisions clearly: Update the DXF when the client asks for changes and keep version history (v1, v2, v3).
- Avoid miscommunication: Exact geometry and dimensioning in DXF remove a lot of “I thought it would be bigger” problems.
Once the client signs off on the DXF-based drawing, you are not guessing—you are cutting exactly what was approved.
Turning Standard Designs into Custom Parts with DXF
One big advantage of working with DXF files is how easily you can customize existing designs without starting from zero every time.
- Adjust size: Scale panels, signs, and decorative pieces while maintaining proportions and cut-ready geometry.
- Modify features: Add holes, slots, or mounting brackets to fit a specific project.
- Personalize artwork: Swap names, logos, or monograms in a sign or wall-art template.
By building a library of reusable DXF templates and then customizing them per project, you keep design time low and still deliver a “custom” experience to every customer.
Using Layers in DXF for Fabrication Details
Custom fabrication often includes more than just cutting. You may need bend lines, weld locations, or marking details on the same part. DXF layers are perfect for this.
- CUT_OUTSIDE: Final outer profiles of the part.
- CUT_INSIDE: Holes, slots, and internal cutouts.
- MARK or ENGRAVE: Text, logos, part numbers, or layout marks.
- BEND_LINES: Lightly etched lines indicating where to bend in the press brake.
- REFERENCE: Centerlines, datums, construction geometry that will never be cut.
In CAM, you can map each layer to a different operation (full cut, light etch, ignore) without redrawing anything, which is ideal for complex custom parts.
DXF Files Across Different CNC Processes in One Shop
Many fabrication shops run more than one type of CNC machine. DXF files help you feed all of them from the same core geometry.
- Laser or plasma: Cut flat profiles for brackets, panels, and plates.
- CNC router: Cut plywood, MDF, plastics, and composite panels for furniture, signs, or fixtures.
- Water-jet: Cut thicker or heat-sensitive materials from the same DXF outlines.
You can maintain a single “master DXF” for the profile and create different CAM setups (tools, kerf, feeds) per machine or material as needed.
Designing Custom Parts in DXF with Real-World Constraints
Custom fabrication is not just about shape; it is about fit and function in the real world. DXF files let you design with those constraints built in.
- Account for kerf: Draw tabs, slots, and joint details with expected kerf and clearance in mind.
- Respect minimum feature sizes: Avoid thin webs or micro details that will fail on your chosen process.
- Align with hardware: Use bolt patterns, hole sizes, and slot shapes that match standard fasteners.
When you build these rules into your DXF designs, your “custom” parts still feel standardized and predictable on the machine.
Managing DXF Libraries for Custom Fabrication
Over time, your custom work becomes a catalog of proven DXF files you can reuse and adapt.
- Organize by category: Signs, brackets, gussets, fixtures, architectural, art panels, etc.
- Store master and production versions separately: Editable source vs. clean cut-ready DXF.
- Tag files with notes: Material used, ideal thickness, and any special cutting instructions.
This library turns past projects into future shortcuts: when a new customer asks for something similar, you start from a proven DXF instead of a blank screen.
Common Pitfalls to Avoid in Custom DXF Projects
Custom projects can go sideways fast if the DXF is not prepared carefully. Watch out for:
- Open contours: Gaps in profiles that cause incomplete cuts.
- Duplicate lines: Overlapping geometry that makes the machine cut the same path twice.
- Hidden tiny shapes: Tiny islands or specks from tracing that add time and no value.
- Unclear layers: Everything on one layer, making it hard to separate cutting and marking operations.
A quick pre-flight check of the DXF before CAM—especially on custom jobs—saves time, material, and customer frustration.
Real-World Example: Custom Bracket for a One-Off Build
Imagine a customer needs a special bracket to mount a new piece of equipment on an older frame.
- You measure the existing mounting points and sketch the bracket concept.
- You create a 2D profile in CAD, then export a DXF with slotted holes for adjustment.
- You run a quick test cut, check fit, and tweak slot length or hole diameter if needed.
- Once the bracket fits perfectly, you save that DXF in your library for future retrofits.
From then on, what started as a one-off becomes a repeatable product in your shop—all driven by a clean DXF file.
Conclusion
Using DXF files for custom CNC fabrication projects turns loose ideas into cut-ready geometry that your machines understand. With DXF, you can collaborate clearly with clients, reuse proven designs, manage multi-step fabrication details on layers, and feed different machines from the same core profiles. For any shop that thrives on custom work, DXF is not just another file format—it is the foundation of a faster, more reliable, and more profitable CNC workflow.


