Turning a rough sketch into a precision-cut metal part is the core of any successful CNC business or hobbyist workshop. In this guide, we break down the essential DXF workflow—from initial design and digital drafting to the final sparks on the cutting table—ensuring your projects move seamlessly from concept to fabrication without costly errors.
Step 1: The Concept and Measurement
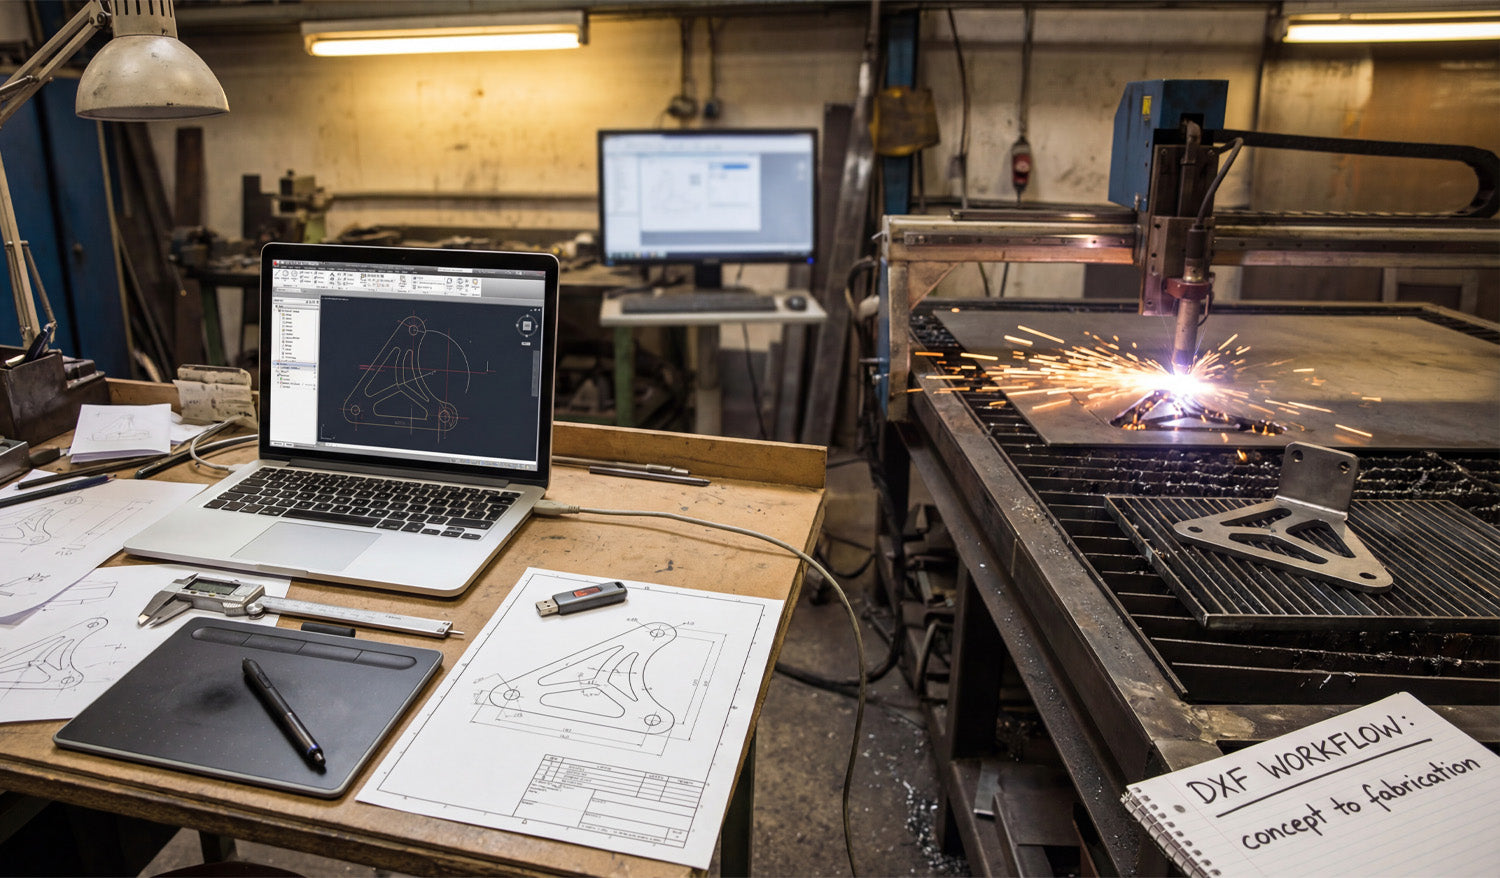
Every great project starts with an idea. As seen in the workshop workflow, it often begins with a simple pencil sketch on paper. Whether you are designing a custom automotive bracket or a decorative metal panel, accuracy is paramount right from the start. Using calipers to get precise measurements of bolt patterns and dimensions is crucial.
If you are new to designing or simply looking for inspiration without doing the math, you can start by exploring our free DXF designs. These files are ready to cut and can help you understand how a proper digital design correlates to a physical object.
Step 2: Digitization and DXF Optimization
Once you have your measurements, the next step is transferring that data into CAD/CAM software. This is the bridge between the physical and digital worlds. In the workspace, the laptop screen displays a 2D wireframe of the part. This is where you create your DXF file.
Expert Tip: When saving your design as a DXF, ensure your vectors are clean. This means:
- Closed Loops: Make sure all shapes are fully closed so the CNC machine knows exactly where the material creates a solid part.
- No Overlapping Lines: Duplicate lines can confuse the cutter, leading to jagged edges or double cuts.
- Kerf Compensation: Remember that the laser or plasma beam has a width. Your design software should account for this to ensure the final part fits perfectly.
Step 3: From File to Fire (Fabrication)
After verifying your DXF file, it’s time to send it to the machine controller. This is where the virtual design becomes reality. As the plasma or laser cutter engages the metal, accuracy relies entirely on the quality of your input file. A clean DXF ensures smooth motion, reduced dross (slag), and a professional finish.
For shops looking to maximize efficiency and skip the design phase entirely to focus on production and sales, our Full Access Bundle offers a massive library of verified, cut-ready files. This allows you to keep your machine running and generating revenue without spending hours in front of a computer screen.
Monetizing Your Workflow
The bracket shown in the workflow isn't just a piece of metal; it's a product. Custom fabrication is a booming market. By mastering the DXF workflow, you can produce:
- Custom automotive mounts and suspension parts.
- Heavy-duty shelving brackets for industrial use.
- Bespoke machinery replacement parts.
Understanding this process from "Concept to Fabrication" empowers you to say "yes" to more client requests and grow your business.
For more details on how you can use our files commercially, please review our License Agreement.


