A perfect DXF file for CNC cutting is clean, accurate, and truly machine ready, so your laser, plasma, router, or mill can cut fast and produce consistent high quality parts.
What Do We Mean by a “Perfect” DXF File?
In CNC work, a perfect DXF file is not just a pretty drawing. It is a 2D vector file that is ready to go straight into CAM or your machine software with minimal cleanup.
A perfect DXF file should:
- Import at the correct real world size and units.
- Contain only the geometry you actually need to cut or engrave.
- Have clean, closed profiles and no hidden problems.
- Be organized in layers so operations are easy to assign.
- Respect the limits of your CNC machine and material.
1. Correct Units and Real World Scale
The first rule of a perfect DXF file is simple: it must come in at the right size.
- Choose one unit system (millimeters or inches) and stick to it.
- Set your CAD or vector software to that unit before drawing anything.
- Include at least one known dimension (for example, a 100 mm or 4 inch reference) so you can confirm scale after import.
If the DXF loads ten times bigger or smaller than expected, it is not CNC ready yet. A perfect DXF never makes you guess about its size.
2. Clean, Closed Geometry
Most cutting problems come from messy geometry. A perfect DXF file has clean, connected shapes that CAM software can understand.
- Closed profiles: Outer outlines and inner cutouts are fully closed loops, not almost closed with tiny gaps.
- No duplicate lines: There are no overlapping segments that would cause double cutting.
- No stray entities: Tiny leftovers, points, construction lines, and unused blocks are deleted.
- Polylines when possible: Related segments are joined into continuous polylines for smoother toolpaths.
Clean geometry means no surprise breaks in cuts and no strange toolpath behavior on the CNC machine.
3. Optimized Node Count for Smooth Motion
Too many nodes (control points) make your machine move in a stop and go pattern and increase file size. A perfect DXF has just enough detail, but not more.
- Use simplify or optimize curve tools to reduce the number of points on curves.
- Replace jagged lines from auto tracing with smoother arcs or splines.
- Focus on heavily detailed zones like borders, logos, and patterns.
Optimized curves keep motion smooth and help your CNC cut faster and cleaner without changing the look of the design.
4. Logical Layer and Color Organization
Layers are how you tell your CAM or controller software what each line should do. A perfect DXF is always layer aware.
- Create layers for outside cuts, inside cuts, engraving, scoring, holes, and reference.
- Use clear layer names such as CUT_OUTSIDE, CUT_INSIDE, ENGRAVE, SCORE, HOLES, REF.
- Assign distinct colors to each layer if your laser or CAM can map settings by color.
- Keep dimensions and construction geometry on a reference layer that will never be cut.
With a properly layered DXF, assigning power, speed, depth, and cut order in CAM takes minutes instead of a painful selection process.
5. Designed for the Specific CNC Process
A perfect DXF file is not “one size fits all.” It respects the machine that will actually cut it.
For Laser Cutting
- Fine detail is allowed, but bridges and thin elements are not so small that they burn away.
- Text is large enough to remain readable at the final size.
- Engrave and cut paths are separated by layer or color.
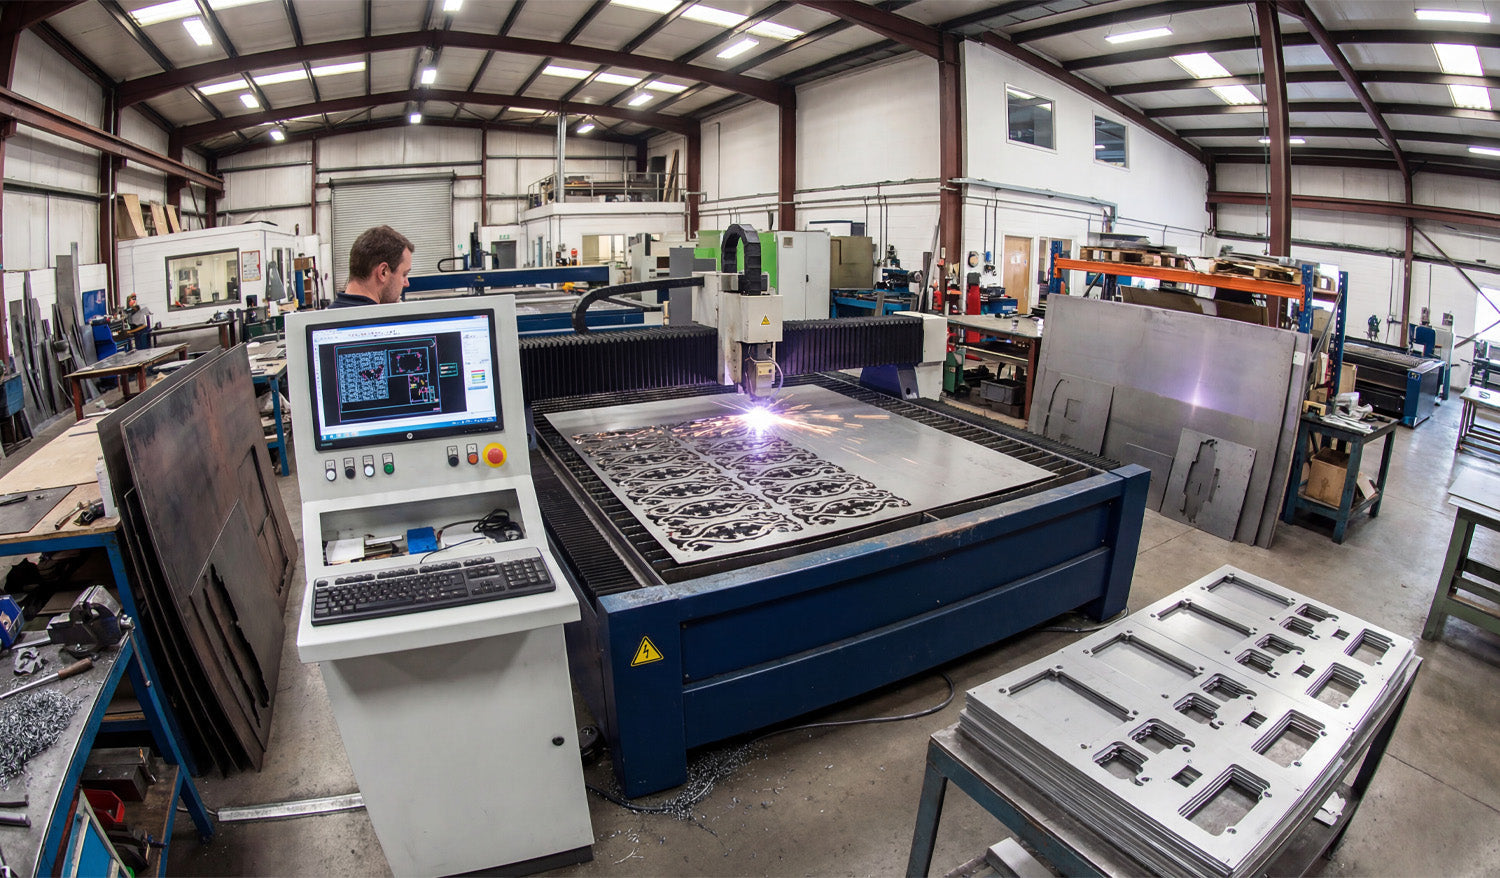
For Plasma Cutting
- Small holes and micro detail that plasma cannot hold are removed or enlarged.
- Bridges in artwork and letters are thicker to stay strong in metal.
- Sharp inner corners are softened or radius added where plasma kerf would round them anyway.
For CNC Routers and Mills
- Inside corners include dogbone or T-bone relief where needed for square fits.
- Slots and pockets are designed for real tool diameters and depths.
- Tool access is considered so there are no impossible to reach features.
Machine aware design is a core part of what makes a DXF file truly perfect for CNC cutting.
6. Kerf and Tolerance Friendly Geometry
Kerf is the width of material removed by the cut. A perfect DXF does not ignore it.
- Critical slots, tabs, and joints are drawn with the expected kerf compensation in mind.
- Standard hole sizes are used so you can apply consistent rules in CAM.
- Clearance is included for press fits, sliding fits, and glue joints where needed.
- Bridges and thin webs are sized so they remain strong after kerf is removed.
When kerf and tolerance are considered in the design, parts fit better and require less rework after cutting.
7. Text and Logos Prepared for CNC
Text and logos look simple but often cause the worst CNC issues when not prepared correctly. A perfect DXF handles them with care.
- All text is converted to outlines so it does not depend on system fonts.
- For cut out text, stencil bridges are added to keep inner islands of letters in place.
- Stroke widths and letter heights are big enough for the machine and material.
- Logos are cleaned so they do not contain micro shapes that will not cut well.
Properly prepared text and logos engrave cleanly or cut out nicely without falling apart.
8. No Unnecessary Extras in the DXF File
A perfect DXF is focused. It does not carry extra data that slows down your workflow.
- No embedded bitmaps or background images in the final cut file.
- No hatches, fills, or 3D entities when you only need 2D paths.
- No unused layers, blocks, or anonymous objects.
- Simple, widely compatible DXF version (often R12 or R14) when possible.
Keeping the DXF lean makes it faster to load in CAM and reduces compatibility issues with different machines.
9. Consistent Naming and Documentation
A perfect DXF file is not only technically clean, it is also easy to recognize and reuse.
- File names include part name, size, material, and version where helpful.
- Variants for different machines or thicknesses are clearly labeled.
- Optional notes or a readme describe recommended material and cutting process.
This kind of organization turns a single DXF into a reliable asset that you and your team can trust in the future.
10. Tested on the Machine and Refined
Finally, a DXF file only becomes “perfect” after it is tested and improved at least once.
- Run test cuts on scrap material before full production.
- Check fit, edge quality, and strength of key areas.
- Tweak slot sizes, bridge widths, and small features based on real results.
- Save the improved design as a new version so you know which one works best.
Real world feedback is what turns a good DXF design into a perfect, production ready one.
Quick Checklist: Is Your DXF File “Perfect” Yet?
Before sending a job to your CNC machine, check:
- ✔ Units and scale are correct and verified with a known dimension.
- ✔ All profiles are closed and there are no duplicate or stray lines.
- ✔ Node count on curves is reasonable and motion will be smooth.
- ✔ Layers clearly separate cuts, engraves, scores, and reference geometry.
- ✔ Detail level matches the limits of your machine and material.
- ✔ Kerf and tolerances have been considered for joints and critical fits.
- ✔ Text and logos are converted to outlines and CNC friendly.
- ✔ The file has been test cut and refined at least once.
Conclusion
A perfect DXF file for CNC cutting is not magic. It is the result of clean geometry, smart layering, machine aware design choices, and real world testing. When you learn to build DXF files this way, your laser, plasma, router, or mill will run smoother, your parts will fit better, and your overall CNC workflow will feel more professional and predictable on every project.


